

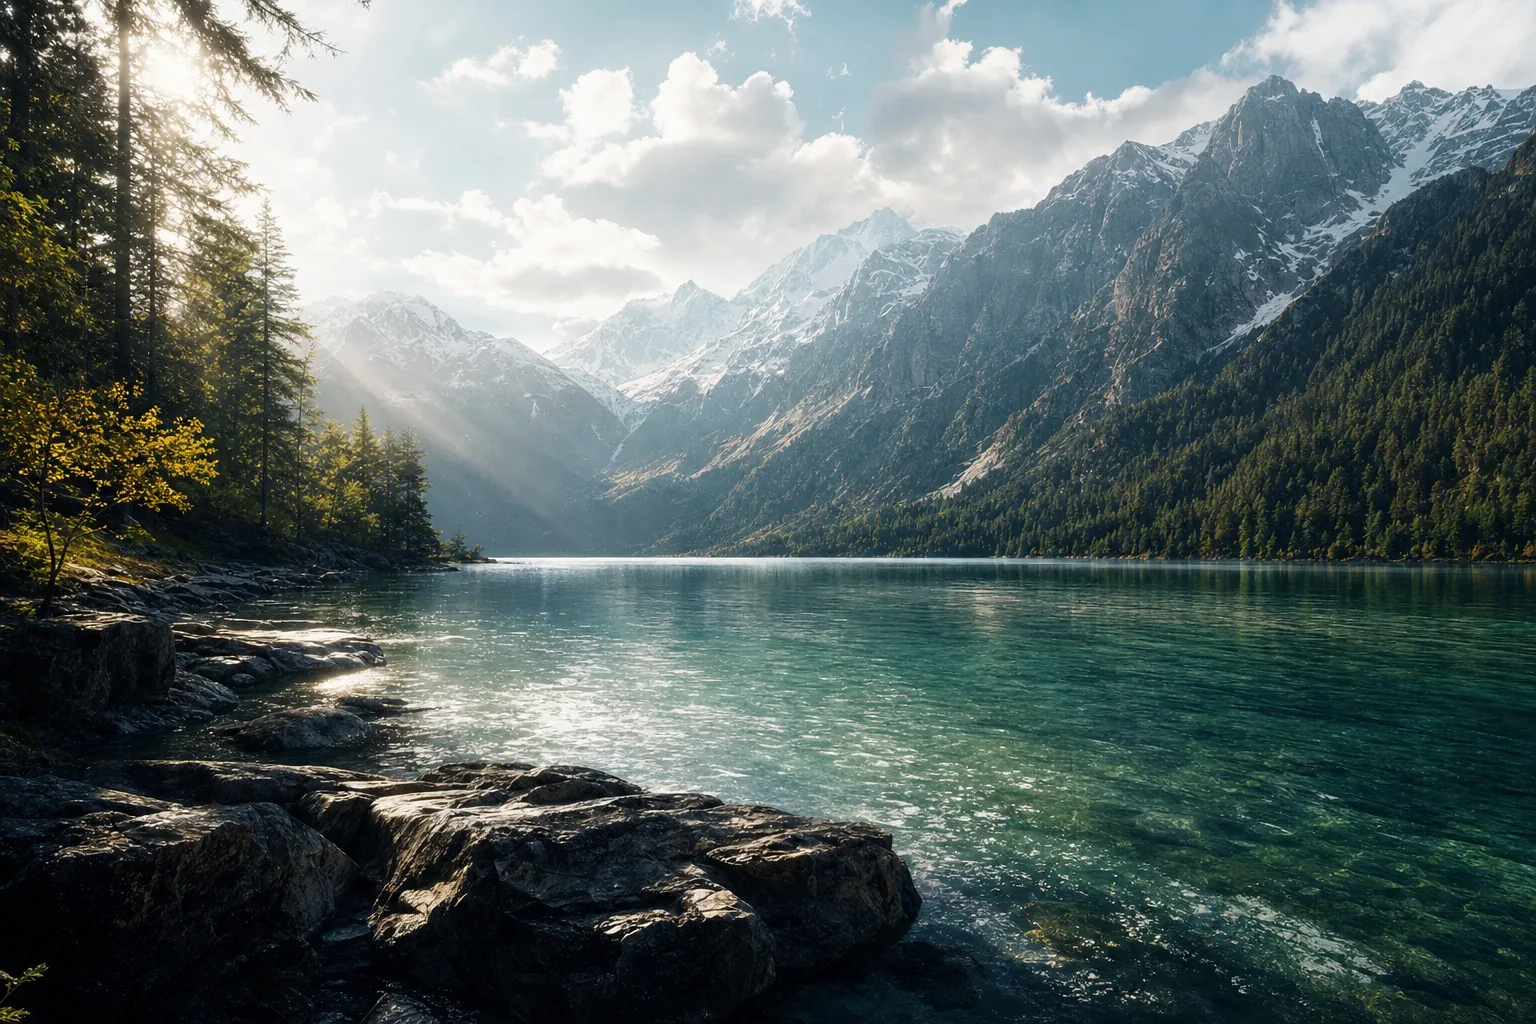
Waterfall photography captures something fundamental about natural beauty: the marriage of power and grace, stillness and motion. Whether you're drawn to towering cascades in Yosemite Valley or intimate forest streams, mastering waterfall photography settings and techniques opens up a world of stunning imagery. The challenge lies not in the subject matter, but in understanding how to translate what your eye sees into what your camera can capture.
Understanding Long Exposure Waterfall Photography
Long exposure is the cornerstone of compelling waterfall imagery. When you extend your shutter speed beyond a fraction of a second, moving water transforms. Instead of freezing individual droplets, the water becomes a soft, flowing veil that conveys motion and creates an almost dreamlike quality. This technique separates professional-looking waterfall photographs from snapshots.
The principle is simple: more light reaches your sensor when the shutter stays open longer. This creates that signature silky effect that makes waterfalls so captivating. The duration you choose matters enormously. A two-second exposure produces a different effect than a ten-second one. Shorter exposures preserve more water texture and definition, while longer ones create an almost ethereal blur that emphasizes the cascade's graceful descent.
Essential Camera Settings for Waterfall Photography
Successful waterfall photography requires balancing three fundamental exposure elements: shutter speed, aperture, and ISO.
Start with shutter speed. For most waterfall scenarios, aim for exposures between one and four seconds. This range produces that classic silky-water effect without requiring extreme neutral density filters or making your image look unnatural. If you're shooting in bright daylight, you may need filters to achieve these speeds without overexposing.
Aperture deserves careful consideration. A smaller aperture, around f/8 to f/16, gives you greater depth of field. This keeps both the near spray and distant parts of the waterfall sharp, which matters when your composition extends from foreground rocks to background cliffs. Smaller apertures also help you achieve longer exposures in daylight without additional filters.
Keep ISO low, ideally 100 to 400, depending on available light. Your sensor will be collecting light for several seconds, so pushing ISO only invites unnecessary noise. Overcast days, shaded locations, and early morning light naturally help you avoid overexposure.
Focus is critical. Use single-point autofocus or manual focus on the waterfall's most visually interesting section. The main cascade often works well, or focus on rocks in the foreground if they're compositionally important. Once locked, switch to manual focus mode so the camera doesn't hunt for focus while your shutter is open.
Composition and Framing Techniques
Waterfall composition extends beyond simply aiming at the cascade. Think about layering: what leads your eye into the image, where does the main subject sit, and what frames the scene? Rocks, fallen logs, and surrounding vegetation create natural leading lines that guide viewers deeper into your photograph.
Consider the waterfall's position within your frame. Centering works for iconic, symmetrical falls, but asymmetrical positioning often creates more dynamic tension. Place the main cascade off-center and fill the negative space with surrounding landscape, mist, or sky. This approach invites the viewer to explore the entire image rather than fixate on a single element.
Include foreground interest when possible. A moss-covered rock, smooth boulders, or clear water pooling at the base of the fall adds depth and context. These elements tell the story of place and invite the viewer to imagine standing where you stood.
Vertical framing works beautifully for tall, dramatic falls, while horizontal framing suits wider cascades or scenes where side cliffs and vegetation matter. Don't rush this decision. Walk around the waterfall, look through your viewfinder from different positions, and notice how the composition shifts.
Working with Neutral Density Filters
Neutral density filters are often essential for daylight waterfall photography. These filters reduce the amount of light entering your lens without affecting color or contrast. They allow you to use longer shutter speeds even in bright conditions.
Filters come in varying strengths, measured in stops. A 3-stop filter halves the light, a 6-stop filter reduces it further, and a 10-stop filter creates very dramatic long exposure effects. For waterfall photography, a 6-stop filter is a reliable starting point. It extends your shutter speed enough to achieve that silky effect without requiring extreme adjustments.
When using filters, metering becomes tricky. Many cameras struggle to meter accurately through dark filters. Set your exposure manually: meter without the filter, note your settings, then attach the filter and adjust. Add shutter speed to compensate for the light loss indicated by your filter's strength.
Adapting to Different Light Conditions
Waterfall photography looks vastly different depending on when and where you shoot. Overcast days eliminate harsh shadows and glare. The soft, even light is forgiving and brings out subtle tones in mist and falling water. These conditions often require no filters, as natural light limitation allows longer exposures.
Early morning often delivers the most ethereal light. Mist rises from churning water, catches low-angle sunlight, and creates an almost transcendent atmosphere. The light is cooler, softer, and the air is often still, which helps with both stability and image clarity.
Shaded locations pose their own rewards and challenges. Deep forest waterfalls receive minimal direct sunlight, which means you can use longer exposures with less filtration. The trade-off is cooler color casts and the need for higher ISO or wider apertures to gather sufficient light. Shaded locations also eliminate the bright reflections that can distract in sunny conditions.
Afternoon light can work, but direct sun often creates harsh contrasts and blown-out highlights in mist. If you're shooting in afternoon light, position yourself so the sun backlit the mist or falls on the surrounding rocks rather than directly illuminating the cascade.
Bringing Waterfall Images Home
Once you've captured waterfall photographs you love, consider how they transform a space. Hammond Raffetto Art specializes in large-format fine art prints that reveal layers of detail invisible on screen. The ethereal quality of long-exposure water, the subtle gradations in mist and rock, and the luminous character of light all come alive when printed large and displayed where you encounter them daily.
Waterfall photographs invite contemplation. They remind us of the beauty that exists beyond our everyday spaces, yet they live comfortably on your wall or in your office, becoming a quiet passage to those places whenever you look at them. That interplay between the natural world and personal space is where the art lives.
Waterfall photography rewards patience, planning, and willingness to return to the same location across different seasons and light conditions. Start with these fundamental settings and techniques, then trust your eye as you develop your own visual voice. The waterfalls will teach you, one frame at a time.